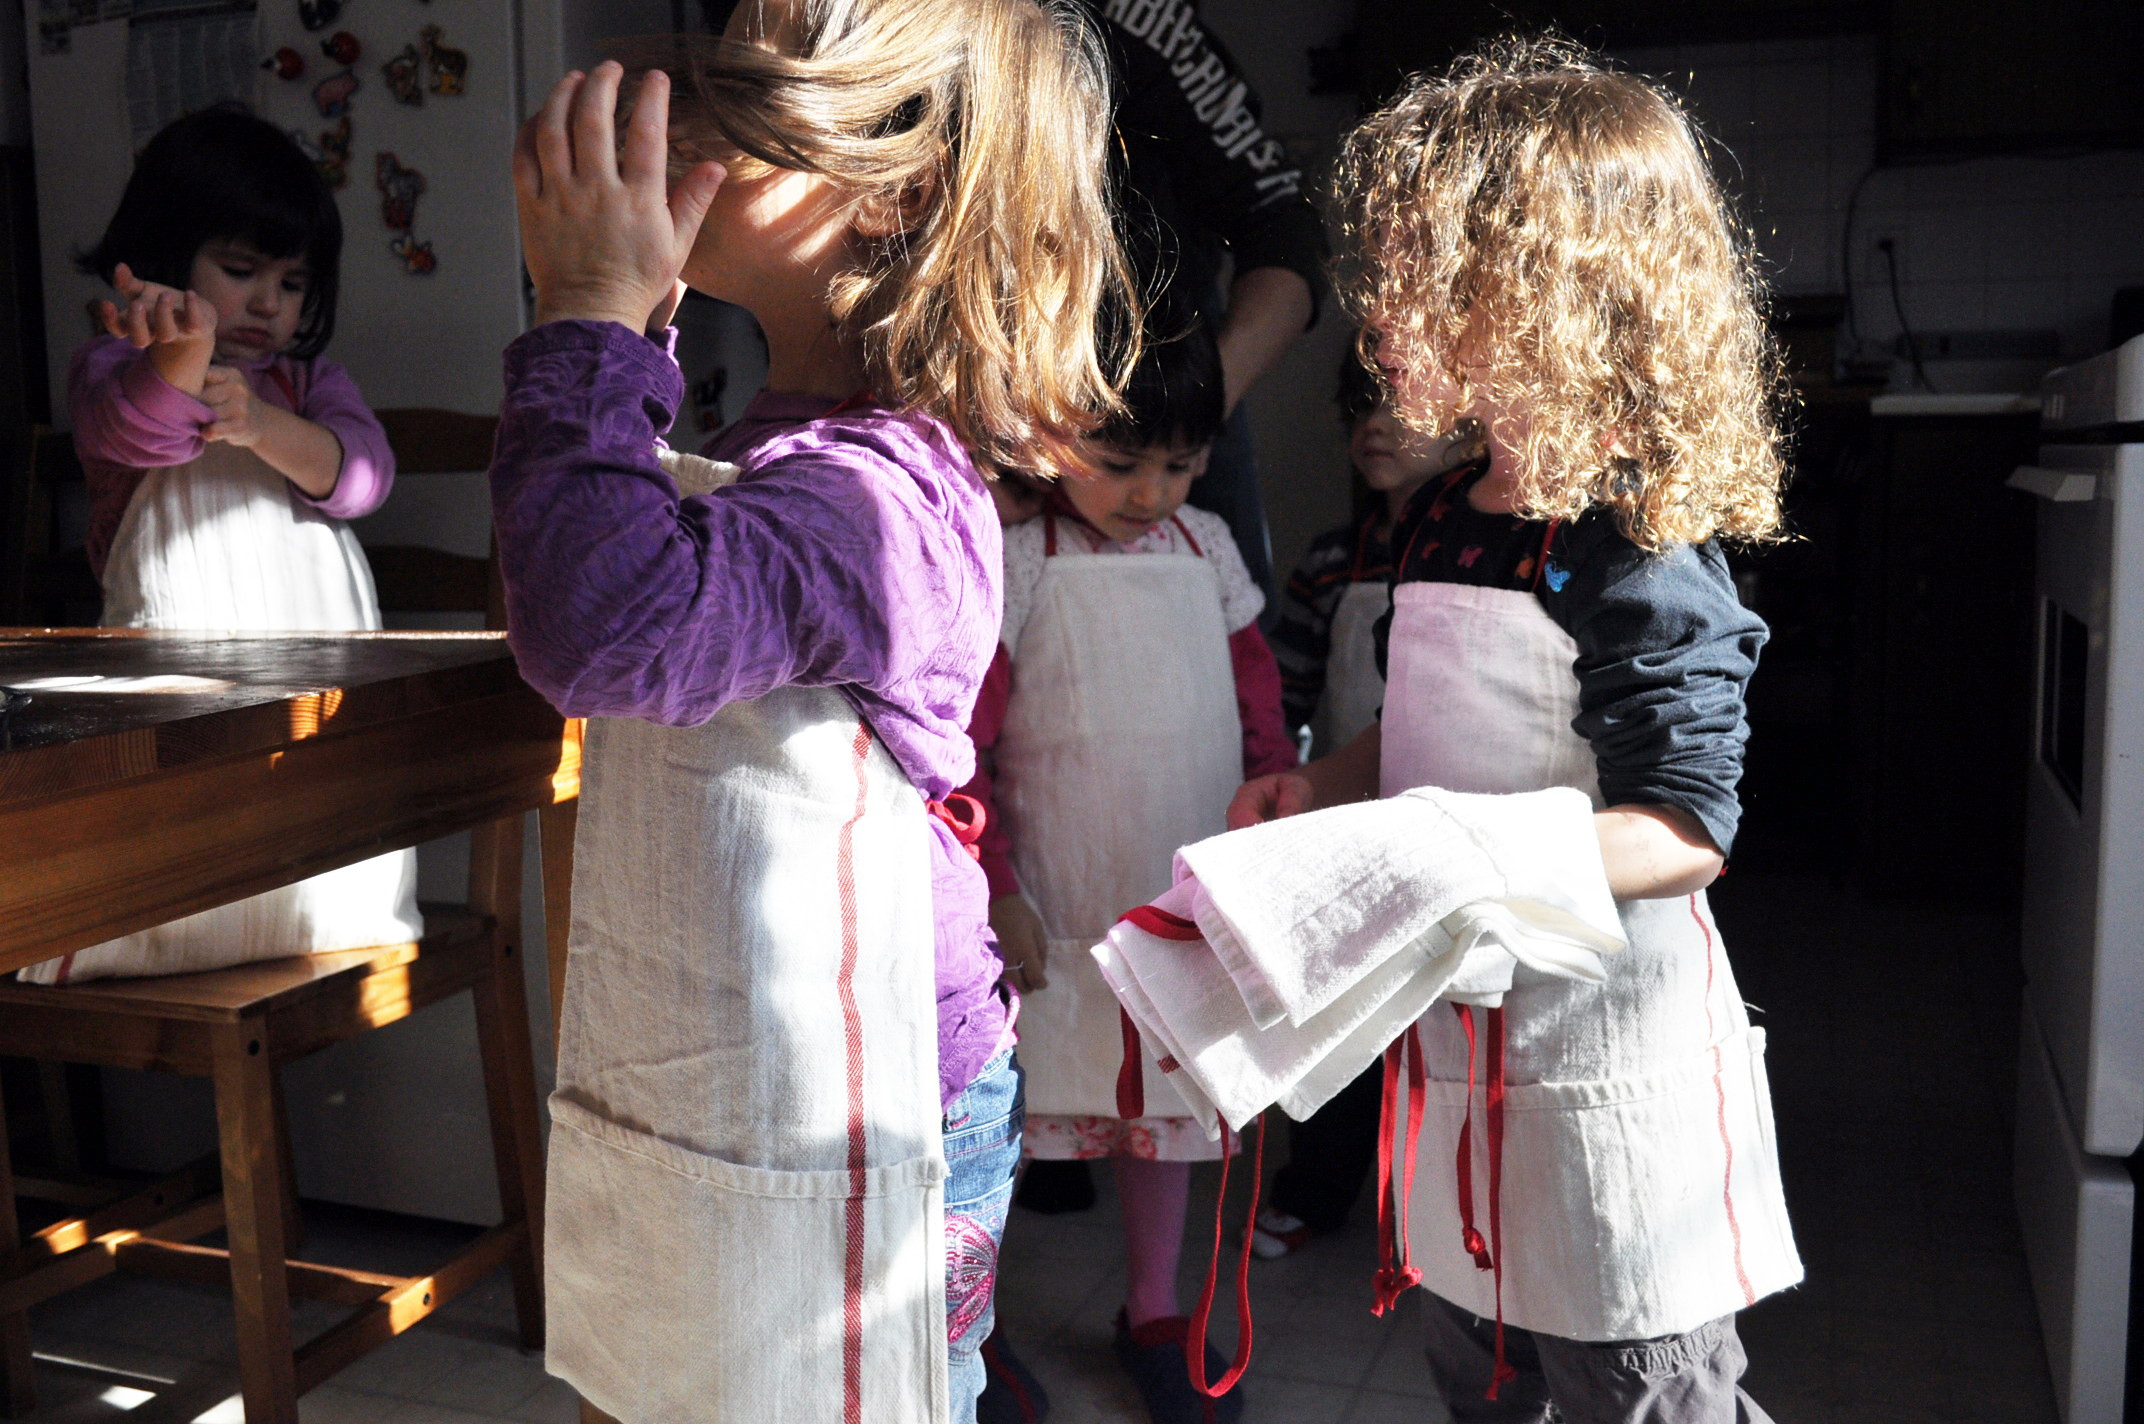
How to make a simple apron (for children)

A few posts back I promised a tutorial for this super simple apron. So here it is. But before I start just a little disclaimer: this is not a scientific pattern and I didn’t use measurement but I relied on my eyes mostly. The apron fits children ranging from ages three to six. For an older child you might have to adapt. Another thing, you can sew it by hand very easily, but because I made eight of them for the birthday party I resorted to the sewing machine.
Here’s what you will need:
- One tea towel
- 1.5 meters (60″) of cotton ribbon or string
- pins
- needle and thread (or sewing machine)
Here’s how you do it:
1. Remove tags and labels from the tea towel, wash it so it shrinks all it needs to shrink and iron it after dry. The ikea tea towel shrunk around 20% so it is a good idea not to skip this step
2. Lay it flat with its right side facing you. This will be the front of the apron

3. Pick up the bottom edge and fold it up to about half of the lenght of the tea towel and sew the lateral edges together. Now sew other two seams in the middle so to make three pockets roughly the same size

4. Turn the tea towel over so that the back faces you and fold the top two corners towards the centre of the apron leaving approximately 20 cm (8″) in the middle.

5. Place the cotton ribbon inside the fold as shown in the picture below and pin it so it doesn’t move while you’re sewing.

6. Sew a triangle following the edges of the corners and along the ribbon but being careful not to sew the ribbon together (it might be lazy of me, but I prefer to do it this way than to thread the ribbon afterwads).

7. Make sure you tie a double (or triple) knot at the end of the ribbon/string so it doesn’t come out when pulled.
Voilá, you have an apron! Enjoy.
=========== ****** ============
Há umas três semanas atrás eu prometi um passo-a-passo do avebntal que fiz para a festinha da Marta. Aqui vai. Mas antes de começar eu queria esclarecer que essas instruções não são cientÃficas, eu não usei medidas e confiei no olho. O avental cabe em crianças de três a seis anos e para uma criança mais velha você tem que adaptar. Outra coisa, esse projeto é super fácil de costurar a mão, mas porque eu fiz oito aventais eu usei a máquina de costura.
Material:
- Um pano de prato
- 1,5 m de fita ou corda de algodão
- alfinetes
- agulha e linha (ou máquina de costura)
Como fazer:
1. Remova as etiquetas do pano de prato, lave para que ele encolha o que tiver que encolher, e passe depois de seco. A toalha de prato da Ikea que eu usei encolheu 20%, então é uma boa idéia não pular essa etapa.
2. Coloque o pano de prato sobre a mesa, no sentido vertical, com o lado certo de frente para você. Essa será a frente do avental.
3. Pegue a borda de baixo e dobre-a até a metade do comprimento do pano de prato e costure as laterais. Agora faça mais duas costuras equidistantes no meio para criar os bolsos.
4. Vire o pano de prato de modo que o avesso esteja de frente para você e dobre as pontas superiores em direção ao centro do pano de prato deixando aproximadamente um palmo (20 cm) no meio.
5. Coloque a fita de algodão dentro da dobra como mostra a figura e prenda com alfinete para que não se mova quando você estiver costurando.
6 . Costure um triângulo seguindo a lateral dos cantos dobrados e ao longo da fita, mas tome cuidado para não costurar a fita junto! Pode ser preguiça minha, mas eu prefiro fazer assim do que passar a fita por dentro do buraco depois.
7. Dê dois ou três nós na ponta da fita para que ela não saia se puxada.
Pronto! Vc já tem o avental.

Leave a Reply